
Introduction
Welcome to the DistroTV Studio Getting Started Guide.
DistroTV Studio allows you to ingest existing linear streams from different formats such as HLS, RTMP, and SRT. Once ingested, DistroTV Studio can be used to transcode the input and output these as HLS with extras such as your own ad marker insertions.
The purpose of this document is to provide a complete, hands-on walkthrough for ingesting an existing HLS stream through DistroTV Studio.
In this guide, you will learn how to:
-
Correctly configure the necessary AWS services, including an S3 Bucket, IAM permissions, and Security Groups.
-
Launch and initialize the DistroTV Studio EC2 instance from AWS Marketplace AMIs.
-
Launch and verify that your channel is live and streaming.
-
By the end of this guide, you will have a functional re-streamed channel passed through DistroTV Studio and the foundational knowledge to begin leveraging the DistroTV Studio toolkit such. For advanced configurations and detailed instructions on these features, please refer to our comprehensive User Guide.
Prerequisites
Before you begin, you should have:
-
An active AWS account with permissions to create S3 buckets, IAM roles and policies, and EC2 instances.
-
Basic familiarity with navigating the AWS Management Console.
Setting Up the AWS Environment
Creating an S3 Bucket
-
Open AWS console and navigate to S3 service
-
Click “Create a bucket” button

-
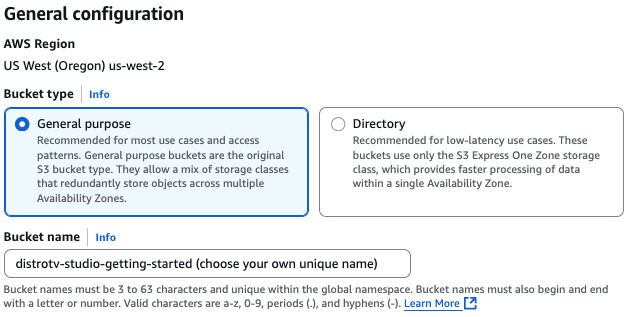
Apply the following settings:(if an option is not mentioned, keep it on the default value)
-
Bucket type: “General purpose”
-
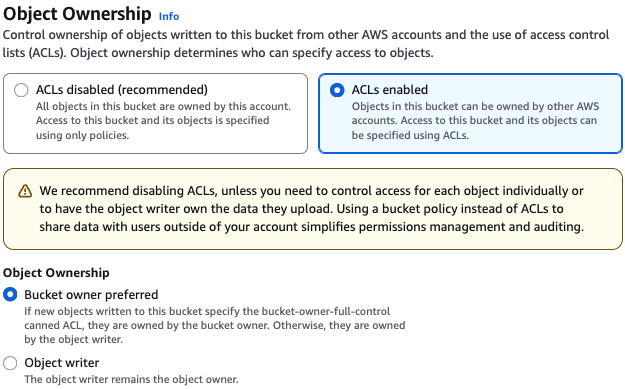
Object Ownership: “ACLs enabled”
-
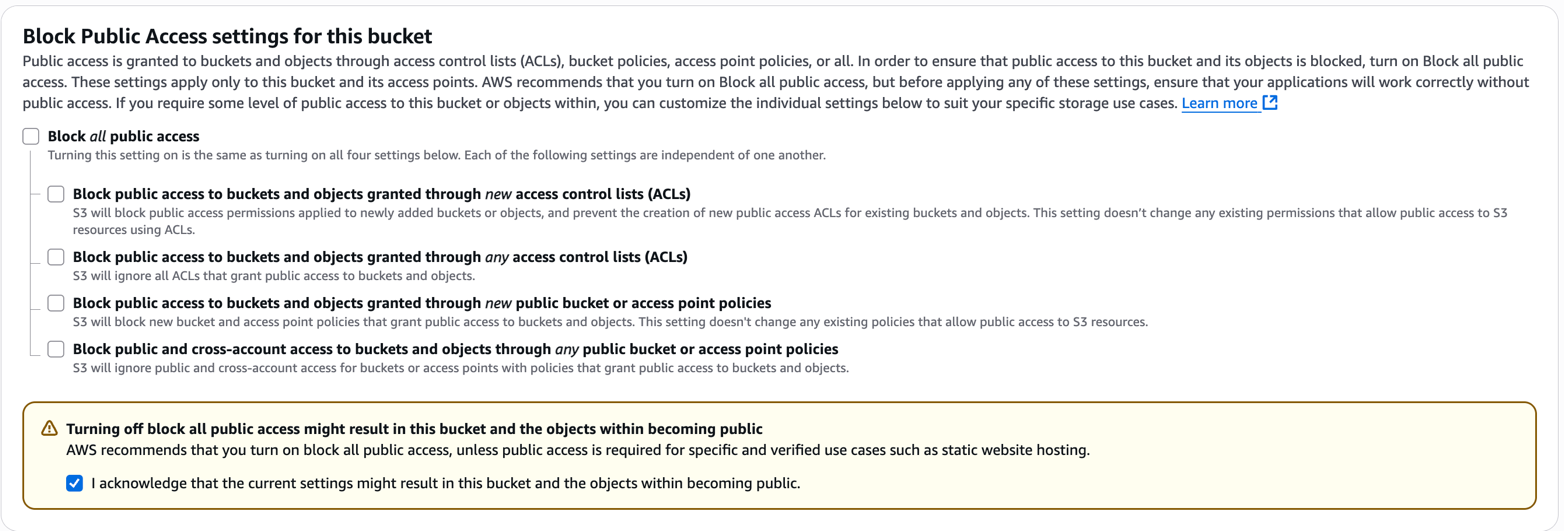
Uncheck “Block all public access”
-
Check “I acknowledge that the current settings might result in this bucket and the objects within becoming public.”
-
-
-
Click “Create Bucket” button
-
Note the name of your bucket as you will be using this in later steps.
Edit Bucket Permissions
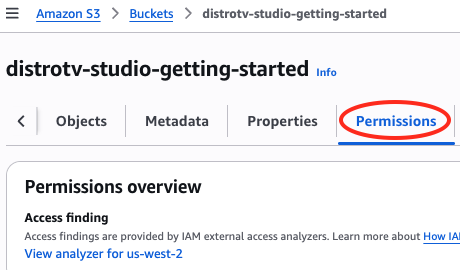
Navigate to the S3 bucket you just created
-
Select the “Permissions” tab to configure its access settings.
-
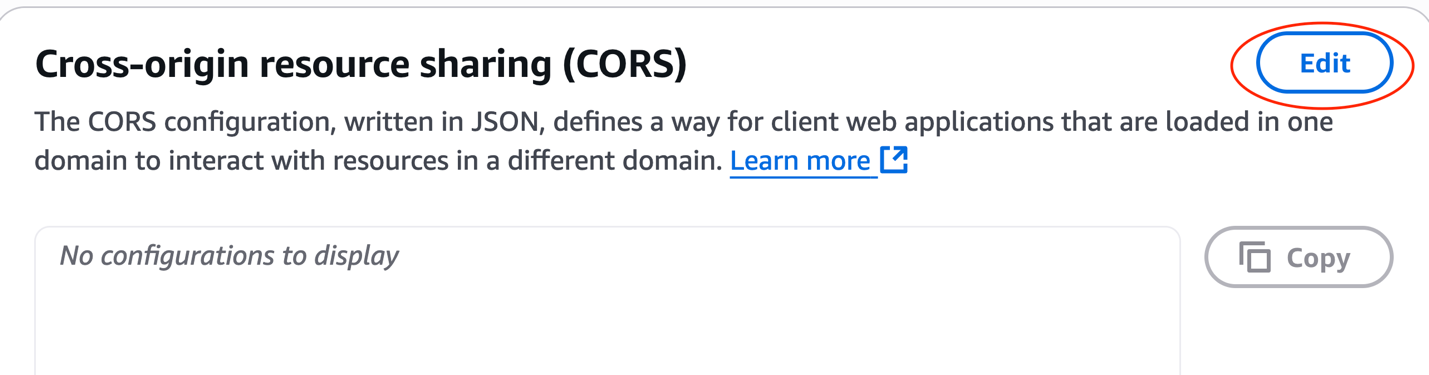
In the “Permissions” tab, scroll down to “Cross-origin resource sharing (CORS)”
-
Select “Edit” in the top right of the CORS box
Paste the following into the text box
-
Click “Save changes” button
-
Consider leaving this AWS S3 tab open in your browser as you will need to reference your bucket name in the following steps

Access Management Setup
Create a New IAM Policy
-
Open AWS console and navigate to IAM service
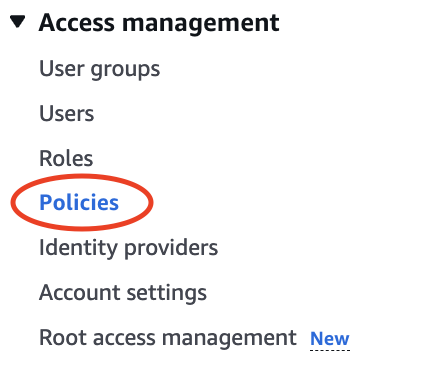
-
Navigate to “Policies” menu item under the “Access management” on the left menu
-
Click on “Create policy”

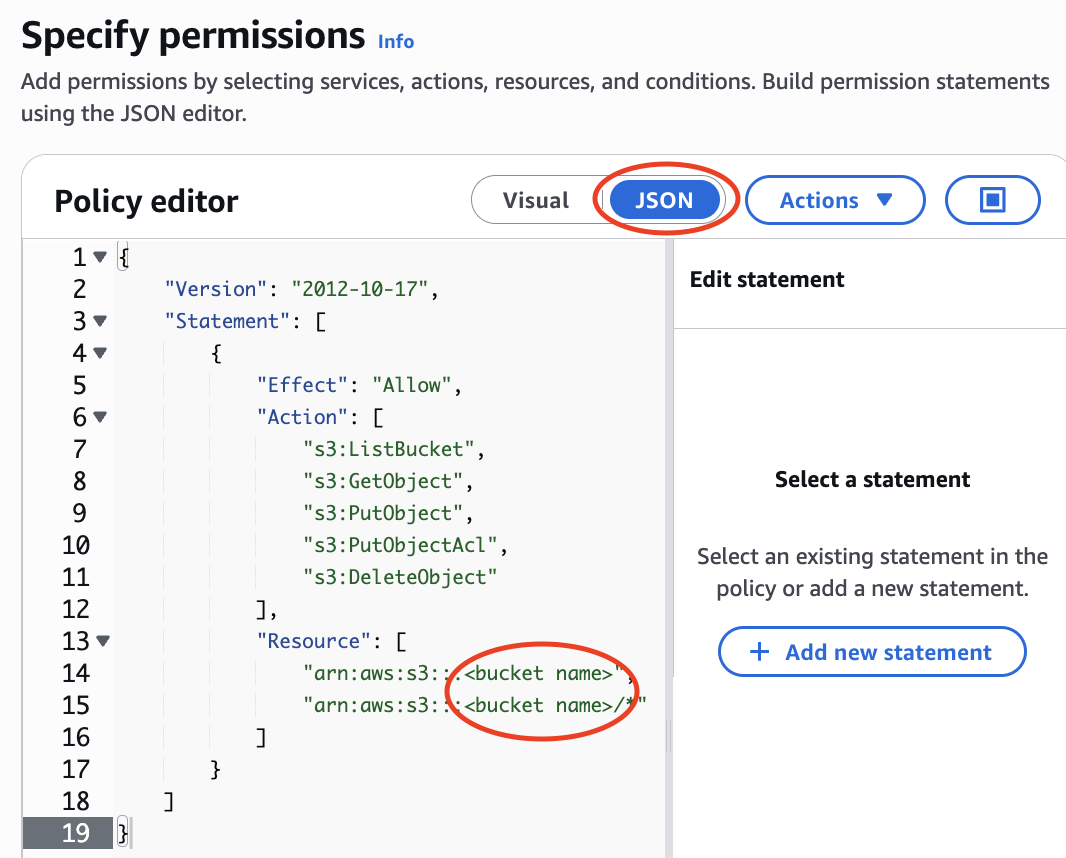
-
In the “Policy selector”, select the “JSON” tab
-
Edit statement and paste the following JSON, ensuring you replace the bucket name with the actual name of the S3 bucket you created in Chapter 2
-
Save by clicking the “Next” button
-
Name this “distrotv-studio-policy”, or another name of your choice, then click “Create policy” button

Create a New Role
-
Open AWS console and navigate to IAM service
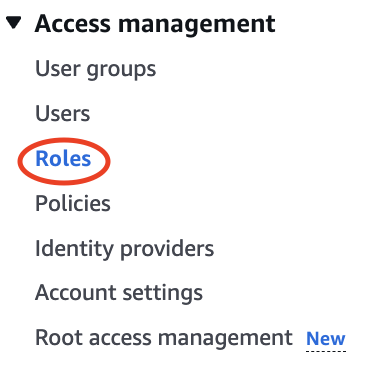
-
Navigate to “Roles” menu item under the Access management on the left menu
-
Click on “Create role” button

-
For “Trusted entity type”, ensure “AWS service” is selected
-
Under “Use case”, select the “EC2” radio button option
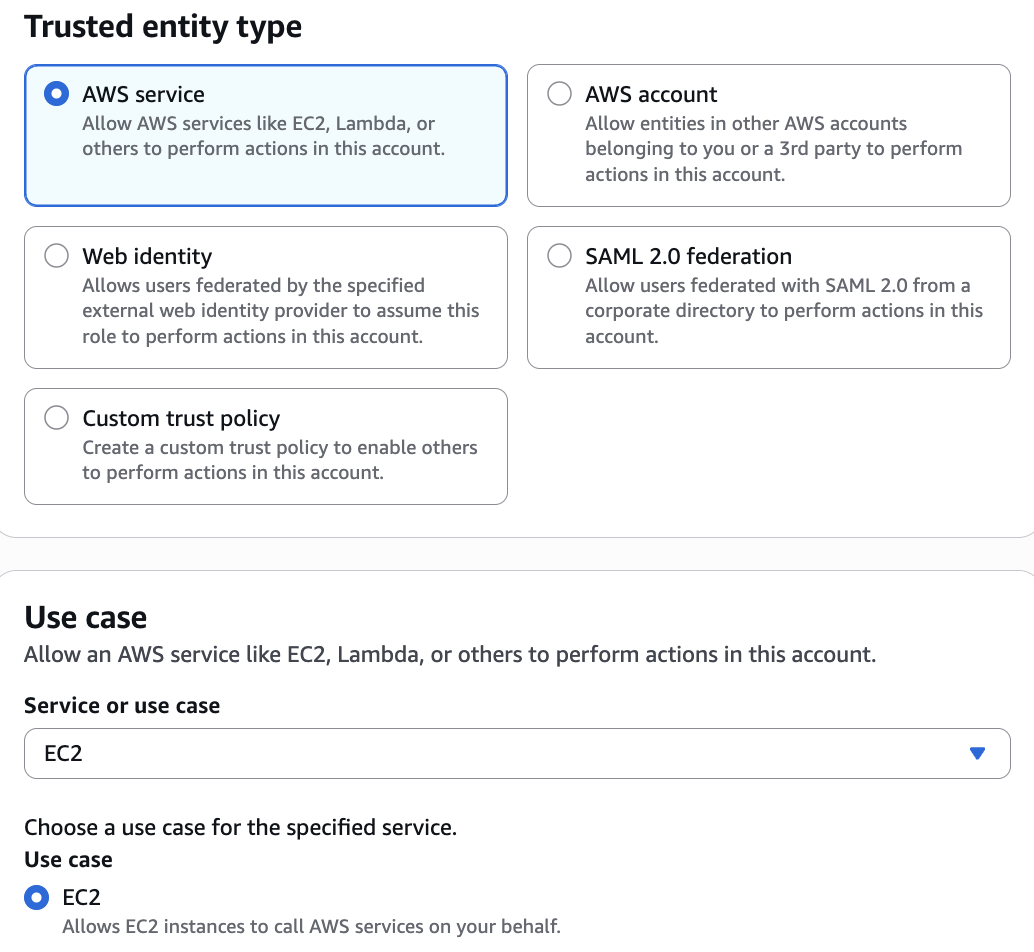
Click on “Next” button
-
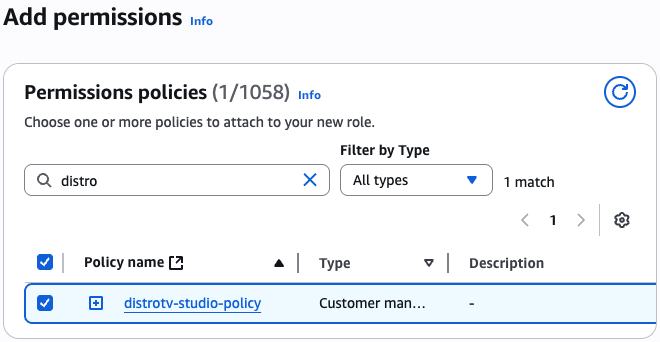
Add permissions: In the “Permissions policies” search box, search for the policy you created in Step 1 (e.g., distrotv-studio-policy or the name you chose). Check the box next to this policy to select it.
-
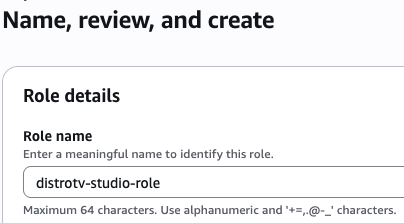
Name, review, and create
-
Under “Role name” box “Name” section, enter ‘distrotv-studio-role’ or another name of your choice
-
Description can also be left default or changed to your liking.
-
-
Click on “Create role” button
Create a Global Conf File
The global conf file is a configuration file which helps point the DistroTV Studio AMI to access the correct public S3 directories for files.
It takes 4 required parameters:
-
s3_meta is the folder where the channel configuration files are being placed.
-
s3_output is the folder where the m3u8s and ts files will be uploaded. they will be uploaded into this folder /strm/ for linear and built channels and in /vid/ for content generated by the DistroTV Studio Transcoder
-
s3_transcode is the folder where the preramp will communicate with the DistroTV Studio Transcoder when new videos are to be encoded
-
channel_list are the names of the configuration files the DistroTV Studio AMI will scan for within your S3 directory. In this guide we assume the name of the channel file will be myrestreamchannel.
Create Global Conf File
-
Download the sample global conf file here and be sure to replace the bucket name with your bucket:
https://docs.distro.tv/samples/restream/globals/global_1.conf
-
HINT: After opening the link, right-click the page and ‘Save As’ global_1.conf
-
Edit the file and be sure to replace the bucket name with your bucket
-
Note: the /meta/ and /transcode/ folders will be created in later steps
-
-
Save the file as “global_1.conf” on your local machine. You will be uploading this file in a later step.
Create globals Folder
-
Open AWS console and navigate to S3 service and navigate to the bucket you created in Chapter 1 (root folder)
-
Click on “Create folder” button
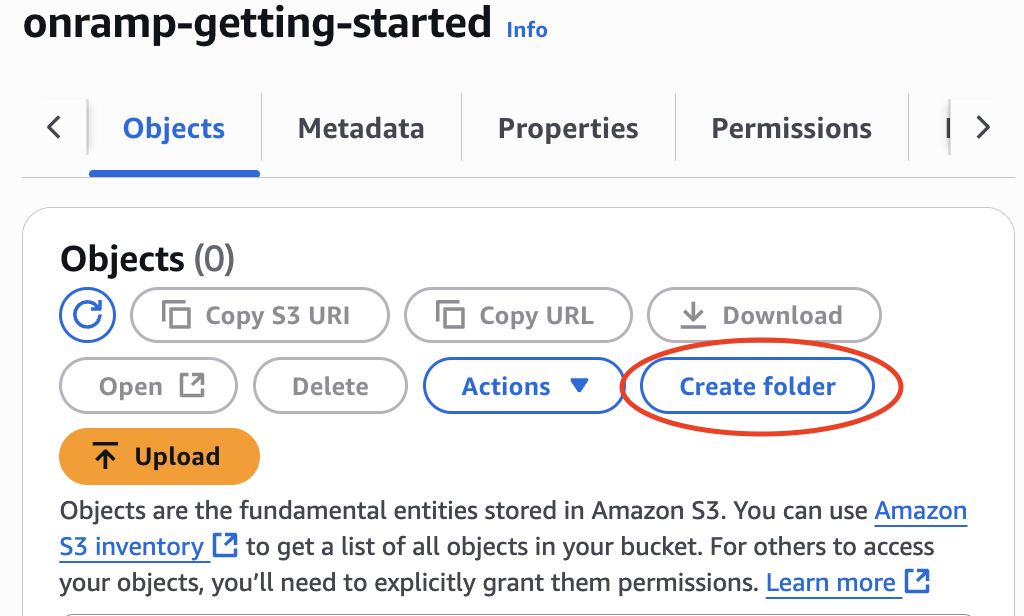
-
Under “Folder” box “Folder name” section, name this “globals”

-
Create a globals folder inside the path defined in the s3_output folder.
-
If you kept the default filepath from the sample global conf file, the file directory path would be
s3://bucket name/globals/
-
Upload Your Global Conf File
-
Upload the global conf file you just created to your S3 bucket /globals/ folder.
Creating S3 Bucket Directories
-
In your S3 bucket, ensure that the folders & directories listed in your global conf file exist
-
s3_meta=s3://bucket name/meta/
-
s3_output=s3://bucket name/
-
s3_transcode=s3://bucket name/transcode/
-
If they do not exist, create them and name them according to how you defined the paths in your global conf file by following the steps below
-
Create meta Folder
Navigate to your S3 bucket root folder
-
Click on “Create folder” button
-
Under “Folder” box “Folder name” section, name this “meta”
-
If you kept the default filepath from the sample global conf file, the file directory path would be
s3://bucket name/meta
-
-
Click on “Create folder” button
Create transcode Folder
Navigate to your S3 bucket root folder
-
Click on “Create folder” button
-
Under “Folder” box “Folder name” section, name this “transcode”
-
If you kept the default filepath from the sample global conf file, the file directory path would be
s3://bucket name/transcode
-
-
Click on “Create folder” button
Create content Folder
Navigate to your S3 bucket root folder
-
Click on “Create folder” button
-
Under “Folder” box “Folder name” section, name this “content”
-
If you kept the default filepath from the sample global conf file, the file directory path would be
s3://bucket name/content/
-
-
Click on “Create folder” button
Create channels Folder
-
Navigate to your S3 bucket meta folder
-
Click on “Create folder” button
-
Under “Folder” box “Folder name” section, name this “channels”
-
If you kept the default filepath from the sample global conf file, the file directory path would be
s3://bucket name/meta/channels/
-
-
Click on “Create folder” button
Create schedule Folder
-
Navigate to your S3 bucket meta folder
-
Click on “Create folder” button
-
Under “Folder” box “Folder name” section, name this “schedule”
-
If you kept the default filepath from the sample global conf file, the file directory path would be
s3://bucket name/meta/schedule/
-
-
Click on “Create folder” button
After this chapter, your S3 bucket should have the following structure:
Launch a DistroTV Studio Image
-
Navigate to AWS EC2 service
-
Navigate to “AMI Catalog” menu item under the “Images” section on the left menu
-
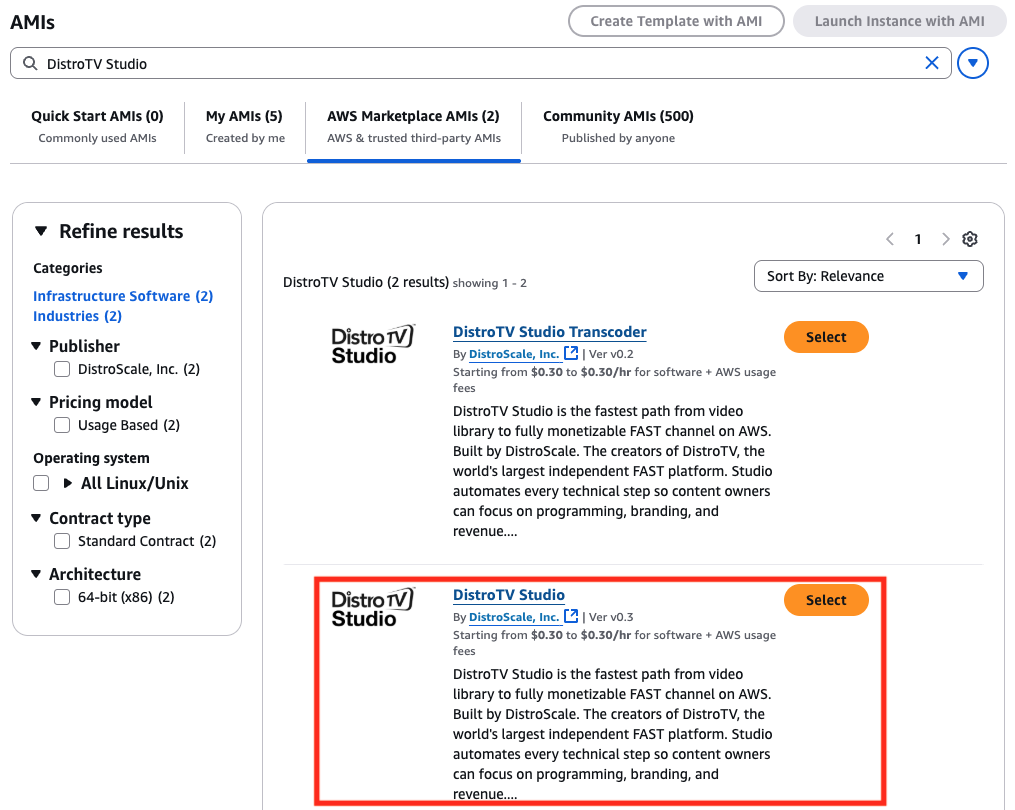
Navigate to “AWS Marketplace AMIs” and search for “DistroTV Studio”
-
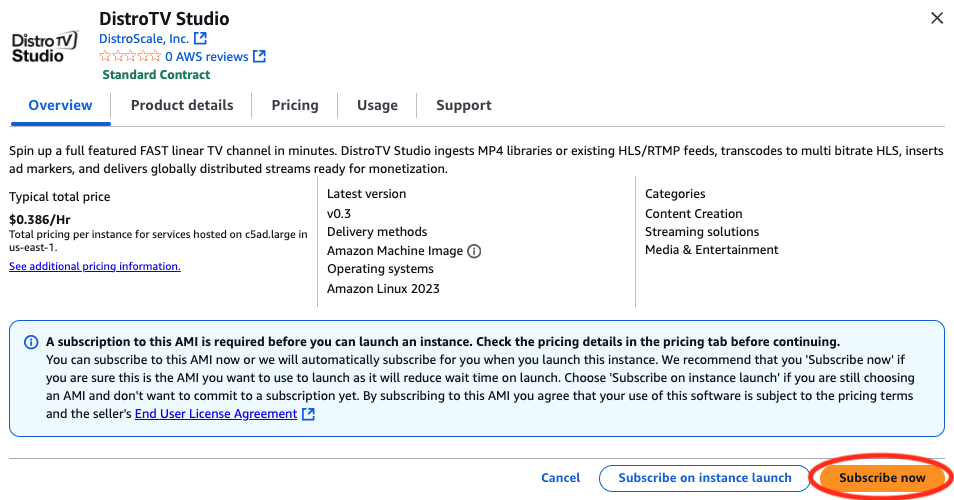
Select the DistroTV Studio image and click on “Subscribe now”
-
After subscribing, you click on “Launch Instance with AMI”
Name – to your liking
-
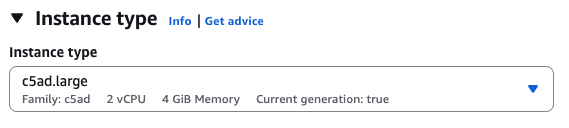
Instance type
-
c5ad.large, c5ad.xlarge, or c5ad.2xlarge
-

-
Key pair
Choose your preferred key pair
-
Network settings
-
Check the following:
-
Allow CUSTOMTCP traffic from (Anywhere)
-
-

-
Under the “Advanced details” box
-
IAM instance profile
-
Select the role you created earlier (distrotv-studio-role if you followed the naming convention in the Chapter 2)
-
-

-
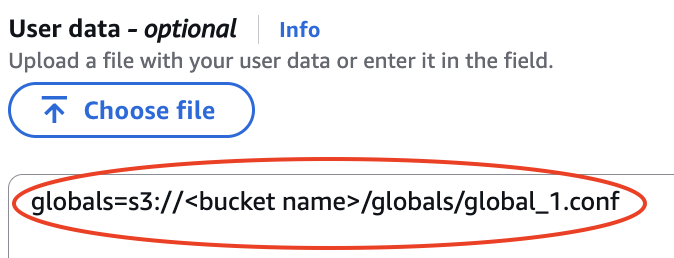
“User data - optional” (near the bottom of the options)
-
Add the following line being sure to reference your S3 file path or publicly accessible URL that stores the global conf file(s)
-
-
Click on “Launch instance” button
-
After waiting 2-3 minutes, validate the machine is up and running by connecting to the API
-
Open a browser and go to your EC2 instance’s API log, being sure to replace your-instance-public-IPv4 with your newly launched EC2 instance’s Public IPv4 address: http://your-instance-public-IPv4:34123/?version
-
Launch Your Channel
-
Create a channel conf file by downloading the sample channel conf file below here being sure to replace your-existing-stream-m3u8 with an existing HLS stream master m3u8 playlist:
https://docs.distro.tv/samples/restream/meta/channels/myrestreamchannel.conf
-
Save as myrestreamchannel.conf
-
This channel conf file controls different channel parameters such as how much to buffer the original stream, enabling ad marker insertions, recording dynamic ad break durations, and more. You can find additional details in our User Guide.
-
Inside the /meta/channels/ folder, upload the channel conf file you created myrestreamchannel.conf
-
After uploading, you can wait a few minutes to see if the channel was picked up by the machine by checking the watchdog API at:
http://your-instance-public-IPv4:34123/?cmd=getlog&channel=watchdog&grep=
-
You can also check to see if files have begun to populate in your s3_output folder. If you kept the default filepath from the sample global conf file, the file directory path would be s3://bucket name/strm/channels/myrestreamchannel/
-
When the re-stream is active, you will be able to view your channel at https://bucket name.s3.region.amazonaws.com/strm/channels/myrestreamchannel/master.m3u8
-
Replace bucket name with your bucket name
-
Replace region with your S3 bucket region
-
-
Congratulations on launching your first channel!
After all chapters, your S3 bucket should have the following structure: